A quick overview of the various methods of solving automotive fluid leaks.
Fluid leaks on a car are the worst! They’re irritating, leave a mess on your garage floor, and show the world that there’s something wrong with your vehicle. Naturally, you want to avoid all leaks as best possible: but how?
Leaks from your engine bay can come in all sorts of shapes and sizes, and there’s a long list of potential culprits that may be responsible. Under the hood alone, you’ve got engine oil, coolant, power steering fluid, brake fluid and clutch fluid. If your leak isn’t under-hood it could even be transmission or differential—the list really is endless.
Don't worry though, there are a few easy solutions.
Identification — the First Step to Success
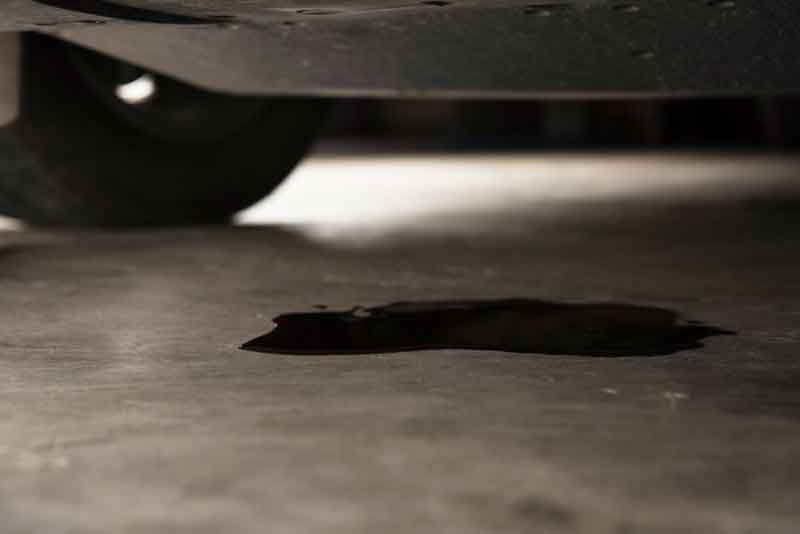
The first step in fixing any leak is identifying what the leak actually is. Is it engine oil or power steering fluid? Is it coolant or transmission fluid? One way to tell is by visual inspection of any patches underneath your car or truck. You can also have a sniff to see if it smells like a distinct fluid—automatic transmission fluid, for instance, has a sweetish aroma to it.
Nothing will beat getting underneath the car. The best method is to use a car lift or ramp to poke around underneath, but that’s not always possible. Crawling under the car is another option, but make sure it’s safe to do so, and that you don’t burn yourself on any hot metals if the engine has been running.
Using a torch, you can often see where drips are forming, or where a build-up of gunk could point towards a leak. Once you’ve identified the leak location on the engine or drivetrain, it’s time to tackle with how to seal that leak for good.
Top Tip:
If you’re having to top-up a vehicle fluid on a regular basis, but can’t determine where a leak is, then this tip is for you! Use a UV dye liquid, a UV light and some yellow-tinted glasses! Add the UV dye to the fluid reservoir, and run the car normally. Then look over all potential elements of the engine with the UV light. The UV dye will make itself visible in a matter of seconds and will help you pinpoint exactly where a leak is.
The Thorough Way: Replacing Parts
Most often a leak will be down to an ageing or cracked seal or washer. Depending on what part it is, it might be easy enough to swap it out for a new seal. If it's easily accessible, such as a thermostat for coolant leaks, simply remove the offending part, and refit with a new gasket or seal.
By replacing the gasket or seal you’re ensuring that the leak has next to no chance of coming back. You can always find a complete breakdown of exactly what parts and washers you need in a car’s service manual, or through an online parts catalog. Most gaskets, washers and seals are surprisingly inexpensive, even if bought directly from a manufacturer or dealership—plus you're given the peace of mind that the fix is unlikely to let you down.
Using Stop Leak Liquid
This method is a little less reliable, but can be a good solution if you’re in a tight spot, need a quick fix, or have no mechanical ability. Stop leak is a liquid that can be poured into an engine. The liquid then “seeks out” any leaks, and seals them. It sounds like the perfect solution, but it’s not always a magic ticket to solving a problem.
By nature, Stop Leak’s purpose is to find out leaks in a pressurized system and close them up. But as it's not intelligent, it can't know exactly what is a leak and what isn’t. This runs the risk that it may end up clogging-up another part of your engine.
Using Gasket Sealant
If you find you need to replace a gasket, such as that found on the thermostat housing, the best course of action is to use a specification gasket to replace it. But there are cases where for certain makes and models, gaskets can be unavailable. You may also need a quick fix, and can’t afford to wait for parts to be shipped out.
In these cases, you can consider using a gasket sealant. A gasket or liquid gasket is just that—a customized gasket in a can. Once you clean the remnants of the old gasket off of the surfaces you apply the liquid gasket in a continuous line around the area that needs sealing. Then, after putting the parts back together, you wait for the specified amount of time in the usage directions. And there you have it: your own home-made gasket!
Top Tip:
Liquid gaskets can be used in place of a variety of gaskets, including tappet covers, thermostats, and cam covers. But it’s not recommended for high-heat applications, such as exhausts and head gaskets.